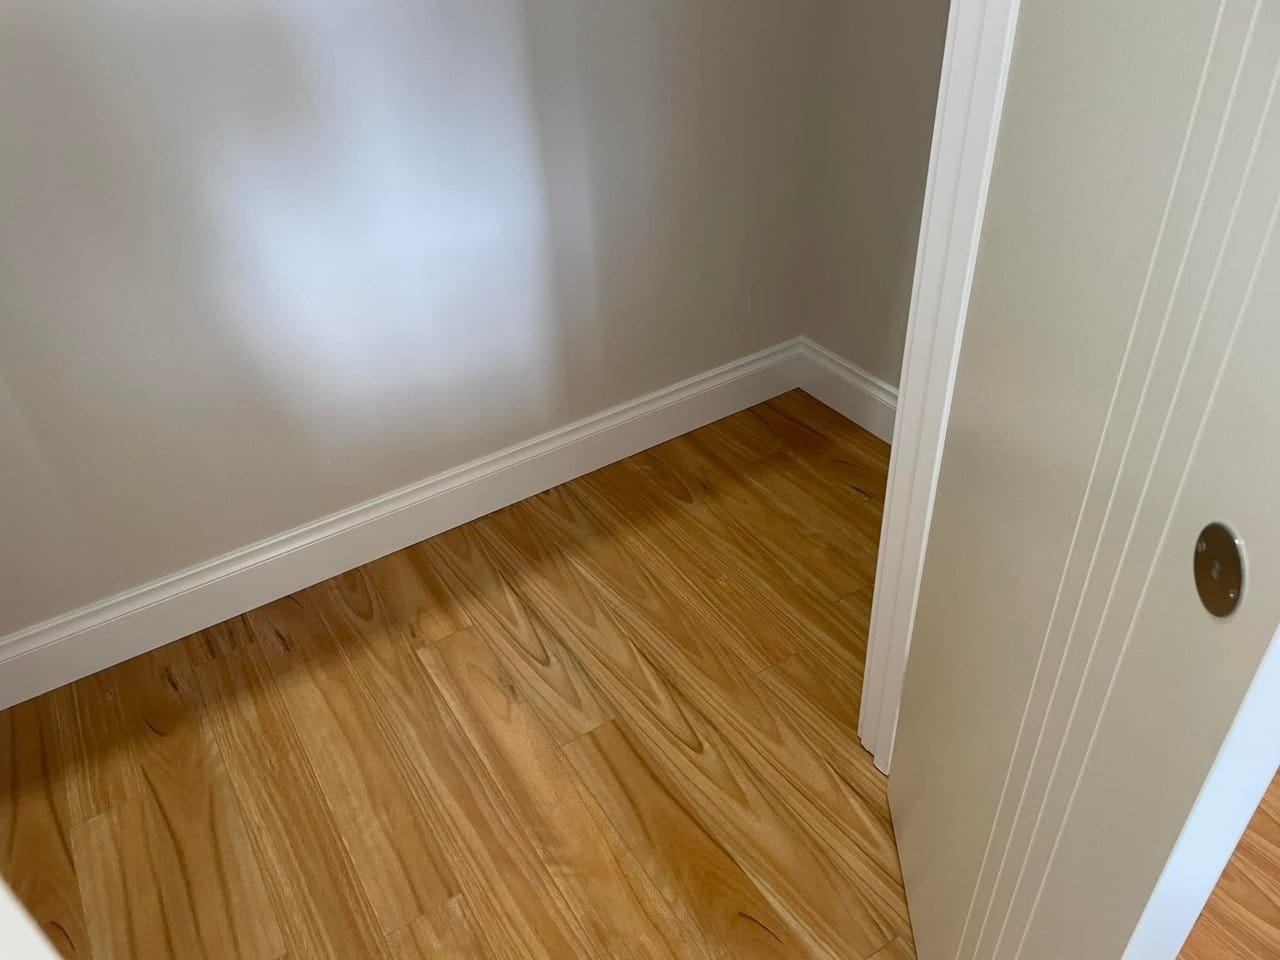

Preparing your Perth home for a fresh coat of paint involves more than just choosing a colour and grabbing a brush. Proper preparation is critical to ensuring a professional-looking finish that will last for years. This complete guide will walk you through the process, step by step, so you can confidently tackle your home painting project and achieve beautiful, long-lasting results. From choosing the right paint colours to fixing damage and ensuring a smooth surface, we’ll ensure your home is truly painting-ready!
Choose the Right Paint Colours for Your Perth Home
The colour palette you choose for your home’s exterior and interior can significantly impact the overall aesthetic. It’s important to consider the style of your home, the surrounding environment, and your personal preferences when making this decision. Take into account the lighting conditions, as natural light can affect how colours appear. For example, north-facing rooms receive warm light, so cooler paint tones can balance this out. Conversely, south-facing rooms receive cooler light and may benefit from warmer-toned paints.
When selecting colours, think about the mood and atmosphere you want to create. Cool colours like blues and greens can evoke a sense of calm and serenity, while warm colours like reds and oranges add energy and vibrancy. Consider the function of each space and select colours that enhance the desired mood. Don’t be afraid to add a pop of colour to create a feature wall and make a bold statement.
Assess and Repair Any Damage
Before you begin painting, it’s crucial to inspect your walls for any damage and make necessary repairs. Look out for holes, cracks, or imperfections that need to be filled and sanded. Repairing these issues ensures a smooth and even surface for painting and prevents the problems from showing through your new paint job. It’s also important to check for any signs of water damage, mould, or mildew, especially in bathrooms and kitchens. If you find any, address the source of the moisture and treat the affected areas before painting.
Prepare the Painting Surface
Ensuring your surfaces are clean and ready for paint is essential to achieving a smooth and professional finish. Start by giving your walls a thorough clean to remove any dirt, dust, or grease. This step is crucial, as paint may not adhere properly to dirty surfaces, and it can also affect the final appearance. Use a mild detergent and warm water, and make sure to rinse and dry the walls completely before proceeding.
If you’re painting previously painted surfaces, check for any flaking or peeling paint and remove it. Lightly sand these areas to create a key for the new paint to adhere to. Fill any gaps or cracks with a suitable filler, and sand these areas smooth once dry. A smooth, clean surface will ensure your new paint glides on effortlessly and results in a flawless finish.
Protect Your Furniture and Floors
It’s important to take the time to protect your furniture and floors before you start painting to avoid accidental splatters and spills. Move furniture away from the walls and cover it with drop sheets or plastic sheeting. Use painter’s tape to secure the sheeting and protect adjacent surfaces. If you’re unable to move large pieces of furniture, push them to the centre of the room and cover them completely. Don’t forget to protect your floors too, especially if you have carpet or timber flooring. Use drop sheets and tape to ensure no paint finds its way onto your precious floors.
Prime and Undercoat for a Professional Finish
Applying a primer and undercoat is a critical step to ensure your paint job not only looks great but also lasts. Primer helps seal the surface and creates a uniform base for the paint to adhere to. It’s especially important if you’re painting over a previously painted surface, filling, or making significant repairs. An undercoat is then applied, which provides a consistent base for the topcoat and helps achieve the desired finish. It also helps with coverage, meaning you may need fewer coats of your chosen paint colour.
FAQs
How do I choose the right paint finish for my walls?
The most common paint finishes are flat, eggshell, satin, and semi-gloss. Flat paint, or matte, is perfect for low-traffic areas and ceilings as it helps hide imperfections. Eggshell and satin finishes are slightly reflective and ideal for walls in living rooms, dining rooms, and bedrooms. Semi-gloss is durable and scrubbable, so it’s great for trim, doors, and high-traffic areas like kitchens and bathrooms.
What’s the best way to deal with mould before painting?
If you notice mould, identify and fix the source of moisture. Clean the affected area with a mixture of water and detergent, then rinse and dry thoroughly. Treat the area with a mould remover and sealer to kill any remaining spores and prevent regrowth. Allow the area to dry completely before painting.
How long should I wait between coats of paint?
Most paint brands recommend a minimum of 2 hours between coats, but it’s always best to check the manufacturer’s instructions on the tin. In humid or cool conditions, you may need to allow for a longer drying time, often up to 4 hours. A gentle touch test can help determine if the paint is dry, but it’s always safer to wait the recommended time.
Do I need to use a primer and undercoat?
Primer and undercoat are essential if you’re painting new or repaired surfaces, or if you’re changing the colour dramatically. They provide a consistent base and help with adhesion, ensuring your paint job lasts longer. An undercoat is especially important if you want a true and vibrant colour representation.
How can I prepare my exterior walls for painting?
Exterior walls require a similar preparation process to interiors. Clean the walls to remove dirt and grime, and repair any damage, filling cracks and holes. If you’re painting rendered walls, you may need to apply a stabilising solution to ensure the render is firm and stable. Always check the weather forecast and choose a dry, mild day for exterior painting.
Key Information
| Step | Description |
| — | ———– |
|---|---|
| 2 | Repair damage and treat mould to ensure a smooth surface. |
| 3 | Clean and prepare surfaces for paint adhesion. |
| 4 | Protect furniture and floors with drop sheets and tape. |
| 5 | Prime and undercoat for a professional, long-lasting finish. |
| 1 | Choose colours considering lighting, style, and mood. | | 2 | Repair damage and treat mould to ensure a smooth surface. | | 3 | Clean and prepare surfaces for paint adhesion. | | 4 | Protect furniture and floors with drop sheets and tape. | | 5 | Prime and undercoat for a professional, long-lasting finish. |
Preparing your Perth home for painting is a crucial step in achieving a beautiful and long-lasting paint job. By following this complete guide, you can ensure your home is ready for its transformation. From colour selection to surface preparation and protection, each step is important in creating a smooth and efficient painting process.
If you’re looking for a professional and reliable painting service in Perth to transform your home, contact VJC Painting today. Our experienced team will ensure your home is expertly prepared and painted, delivering a flawless finish that will impress for years to come.
These articles are drafted with AI assistance and should be considered general information not professional advice or information Learn More