Introduction:
A fresh coat of paint can work wonders for your Perth home, whether you’re looking to update your interior style, boost curb appeal, or repair wear and tear. However, a successful painting project relies on careful preparation. Proper surface preparation is key to ensuring a smooth and seamless finish, and it can also help you avoid common issues like colour bleed, uneven coverage, and visible repairs.
This complete guide is designed to help homeowners and businesses in Rivervale and beyond prepare their properties for professional painting. From choosing the right paint colours to fixing common wall imperfections, we’ll outline the essential steps to ensure your painting project runs smoothly. We’ll also offer expert tips on solving texture-matching issues, so repairs and partial repaints blend seamlessly with the surrounding surfaces. By the end of this guide, you’ll be ready to transform your space with confidence!
Choose the Right Paint Colours:
Selecting the perfect paint colours is an important first step in preparing for your painting project. The right colours can set the tone for a room, enhance lighting, and even make a space appear larger or more inviting. Consider the mood you want to create and the existing colour palette of your home. For interior painting, think about the function of each room and choose colours that complement the space. For example, soft neutrals and earthy tones can create a calming atmosphere in bedrooms, while vibrant shades can add energy to living areas.
When choosing exterior paint colours, it’s important to consider your home’s style, the surrounding environment, and any applicable strata or heritage restrictions. Neutral shades like grey, beige, and white are always popular choices for exteriors as they have broad appeal and can make a home appear larger. You may also want to consider using bolder colours for accent features, such as doors and window frames, to add interest and character.
To help visualise your colour choices, try using online tools that allow you to virtually paint your rooms or exterior. Many paint brands also offer small sample pots, so you can test colours on your walls before committing. It’s worth remembering that lighting can impact how a colour appears, so observe your samples throughout the day to see how they look in different light conditions.
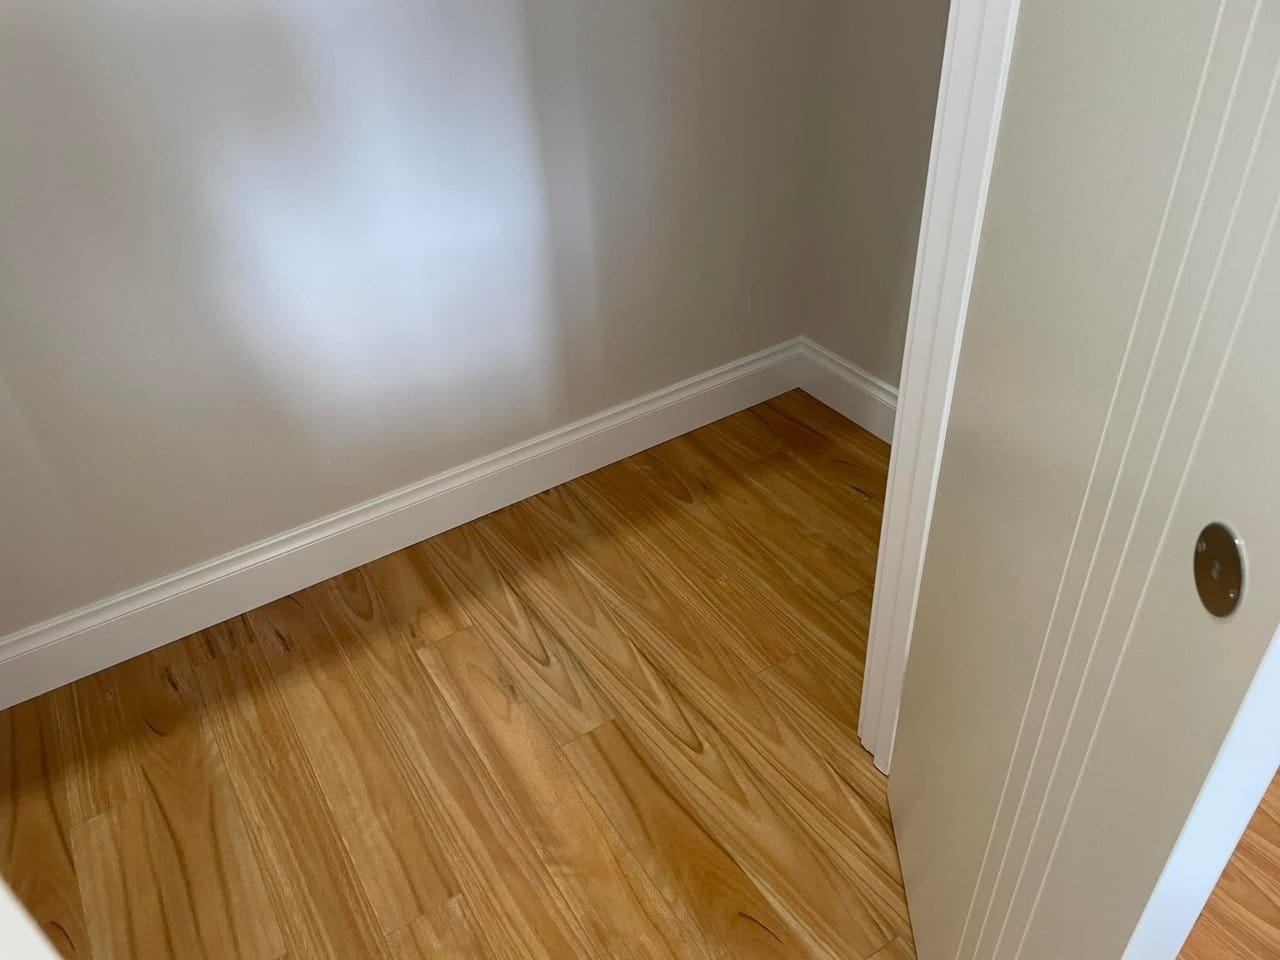
Assess and Prepare Surfaces:
Before you begin painting, it’s crucial to assess and prepare the surfaces to ensure the best possible finish. Start by inspecting your walls for any damage, including cracks, holes, or peeling paint. These issues need to be addressed to create a smooth and even base for the new paint. Minor cracks can be filled with a flexible sealant, while larger cracks and holes may require patching with a compound or plaster. If you’re painting exterior walls, ensure you check for any signs of water damage or mould, which will need to be treated before painting.
Once repairs are complete, give the walls a thorough clean to remove any dirt, dust, or grease. This step is important to ensure the paint adheres properly and to avoid discolouration. Use a mild detergent and warm water, and be sure to rinse and dry the walls thoroughly afterwards. If you’re painting kitchen or bathroom walls, consider using a mould-inhibiting primer to prevent future growth.
Solve Texture Matching:
Matching the texture of repaired or partially repainted areas to the surrounding wall can be a challenge. The key to success is communication and preparation. Start by discussing your concerns with your chosen painting contractor. They will be able to advise on the best approach to achieve a seamless finish. In some cases, they may recommend retexturing the entire wall to ensure a uniform look. Alternatively, they may suggest using a skim coat to level and smooth the surface, creating a consistent base for the new paint.
If you’re undertaking a DIY project, there are a few techniques you can use to match textures. A simple method for repairing small areas is to use a paint roller with a thick nap, which will help the new paint blend with the surrounding texture. For larger repairs, you may need to recreate the texture using a specialised roller, sponge, or brush. Practice on a small area first to perfect the technique before tackling the entire wall.
Select the Right Paint and Tools:
With surfaces prepared and any texture issues addressed, it’s time to choose your paint and tools. The type of paint you select will depend on the specific requirements of your project. For interior walls, a good-quality acrylic paint is a popular choice as it’s durable, low odour, and easy to clean. If you’re painting high-traffic areas or exterior walls, consider a paint with a higher sheen, such as a low-gloss or semi-gloss, which will be more resistant to marks and scuffs.
You’ll also need to select the right tools for the job. At a minimum, you’ll require paintbrushes, rollers, and trays. For larger projects, a paint sprayer may be more efficient. Don’t skimp on quality when it comes to brushes and rollers, as cheaper options are more likely to shed fibres or leave streaks. If you’re unsure about the best paint and tools for your project, seek advice from your local paint supplier or hardware store.
Protect Your Space:
The final step in preparing for your painting project is to protect your space. Painting can be a messy business, so it’s important to take precautions to avoid damaging furniture, flooring, and other surfaces. Start by removing as much furniture as possible from the room, or move it to the centre and cover it with drop sheets or plastic. Use painter’s tape to mask off skirting boards, windows, and doors, and cover light switches and power points to avoid splatters.
If you’re painting the exterior of your home, protect garden beds and paths with drop sheets, and be mindful of nearby plants and shrubs. You may need to trim back branches and use coverings to avoid paint drips. It’s also a good idea to check the weather forecast and choose a dry, mild day for exterior painting to ensure the paint dries properly and isn’t washed away by rain.
FAQs
How do I choose the right paint finish for my project?
The best paint finish depends on the specific requirements of your project. For interior walls, a matte or eggshell finish is popular as it has a soft, modern look and is less likely to show imperfections. Satin and semi-gloss finishes are more durable and washable, making them ideal for high-traffic areas and rooms prone to moisture, like kitchens and bathrooms. For exterior walls, a low-sheen or gloss finish is recommended as it’s more resistant to the elements and easier to clean.
What’s the best way to fill holes and cracks before painting?
Minor holes and cracks can be filled with a flexible sealant or spackling compound. Use a putty knife to apply the filler, ensuring you press it firmly into the crack or hole. Once dry, sand the area lightly to create a smooth, even surface. For larger holes and cracks, you may need to use a patching compound or plaster to create a sturdy and seamless repair. Always allow enough time for the filler or compound to dry before painting.
Should I use primer before painting?
Primer is an important step in the painting process as it helps to ensure better adhesion of the paint and can improve coverage. It’s especially important when painting over dark colours with a lighter shade, as it prevents the old colour from bleeding through. Primer is also beneficial when painting porous surfaces like bare wood or plaster, as it seals the surface and creates an even base for the paint to adhere to.
How do I protect my floors and furniture when painting?
Protecting your floors and furniture is crucial to avoid damage and paint splatters. Remove as much furniture as possible from the room, and cover the remaining items and flooring with drop sheets or plastic. Secure the coverings with tape to keep them in place. Use painter’s tape to mask off skirting boards, windows, and doors, and cover light switches and power points. If painting near carpets or rugs, tape down a protective layer of plastic sheeting to avoid paint drips.
What’s the best way to clean walls before painting?
Cleaning your walls before painting is essential to ensure the paint adheres properly. Use a mild detergent and warm water, and gently wash the walls with a soft sponge or cloth. Rinse with clean water and allow the walls to dry thoroughly. Avoid using harsh chemicals or abrasive cleaning tools, as these can damage the wall surface. If there are any signs of mould or mildew, treat the area with a mild bleach solution or a mould-inhibiting cleaner.
Key Information
| Topic | Information |
| — | — |
|---|
| Colour Choice | Consider the mood and lighting of each room when choosing colours. Test colours
These articles are drafted with AI assistance and should be considered general information not professional advice or information Learn More