Picture a warm and inviting space that reflects your personal style, all while saving money in the process. It’s not just a dream; it’s within your reach with our complete guide to painting your one-bedroom apartment on a budget.
Section 1: Preparation is Key
Before you dive into painting, it’s crucial to prepare the space. Gather the necessary materials, protect your belongings, and clean the surfaces to ensure a smooth and flawless finish.
Sub-section 1: Gather Your Tools

Acquire essential tools such as rollers, brushes, trays, drop cloths, sandpaper, and a stepladder to make the process more manageable.
Sub-section 2: Protect Your Belongings
Cover furniture, floors, and appliances with drop cloths or plastic sheeting to prevent accidental paint spills and stains.
Sub-section 3: Clean the Surfaces
Thoroughly clean walls using a mild detergent solution and a sponge to remove dirt, dust, and grime. Allow surfaces to dry before you begin painting.
Section 2: Choosing the Perfect Colour Scheme
Selecting the right colour scheme is essential to achieving a cohesive and visually appealing look. Consider the existing furniture, natural light, and your personal style to make an informed decision.
Section 3: Selecting the Right Paint
Choosing the right paint is crucial for a durable and long-lasting finish. Opt for high-quality, low-VOC paints designed for interior use in apartments.
Section 4: Techniques for a Flawless Finish
Adopt painting techniques that ensure a smooth and professional finish. Master the art of cutting in, rolling, and blending for seamless results.
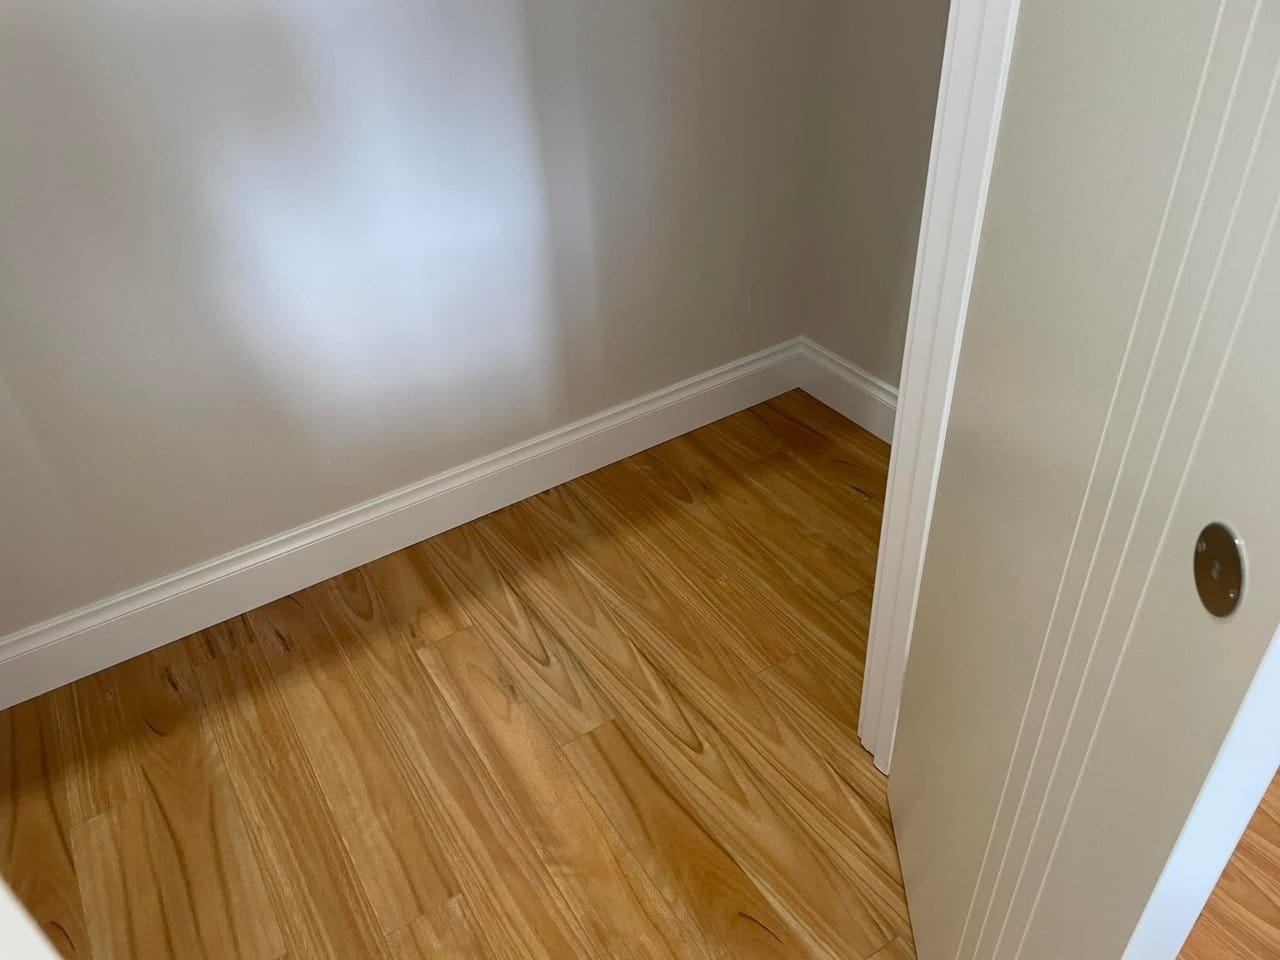
Section 5: Tackling Tricky Spaces
Conquer challenging areas like corners, trim, and ceilings with expert tips and tricks.
Conclusion:
DIY painting doesn’t have to be stressful or lead to amateur results. With our comprehensive guide, you’ll confidently transform your one-bedroom apartment into a stylish and budget-friendly haven.
Ready to take on your DIY painting project with confidence? Contact VJC Painting today for expert advice and assistance in selecting the perfect paint colours and materials for your one-bedroom apartment.
FAQs
Q: What type of paint is best for apartment walls?
A: Opt for high-quality, low-VOC paints designed specifically for interior use in apartments.
Q: How long should I wait before moving furniture back into the room after painting?
A: Allow the paint to dry for at least 24 hours before moving furniture back into the room.
Q: Can I paint over existing paint without sanding?
A: While sanding is not always necessary, it’s essential to ensure the existing paint is clean, dry, and free of any peeling or flaking.
Q: How many coats of paint should I apply?
A: Typically, two coats of paint are required for a smooth and even finish.
Key Information
| Category | Information |
| —————– | ———————————————————————————————————————————————————————————————————————————————————————————————————————————————————————————————————————————————————————————————————————————————————————————————————————————————————————————————————————————————————————————– |
|---|---|
| Surface Preparation | Clean walls, repair any holes or cracks, sand rough surfaces, remove loose paint, mask off trim and fixtures |
| Paint Selection | Choose high-quality, low-VOC interior paint in the desired colour(s) |
| Painting Techniques | Master cutting in, rolling, and blending for a smooth and professional finish |
| Challenging Areas | Tackle corners, trim, and ceilings with expert tips and techniques |
| Drying Time | Allow at least 24 hours between coats and an additional 24 hours before moving furniture back into the room |
| Tools | Rollers, brushes, trays, drop cloths, sandpaper, stepladder, paint scraper, painter’s tape, paint tray liners | | Surface Preparation | Clean walls, repair any holes or cracks, sand rough surfaces, remove loose paint, mask off trim and fixtures | | Paint Selection | Choose high-quality, low-VOC interior paint in the desired colour(s) | | Painting Techniques | Master cutting in, rolling, and blending for a smooth and professional finish | | Challenging Areas | Tackle corners, trim, and ceilings with expert tips and techniques | | Drying Time | Allow at least 24 hours between coats and an additional 24 hours before moving furniture back into the room |
These articles are drafted with AI assistance and should be considered general information not professional advice or information Learn More